Skip to content
Preview
Free Science Worksheet Grade 6 (Year 7)
No ratings yet

Seeing the Invisible: Using a Microscope

About This Resource

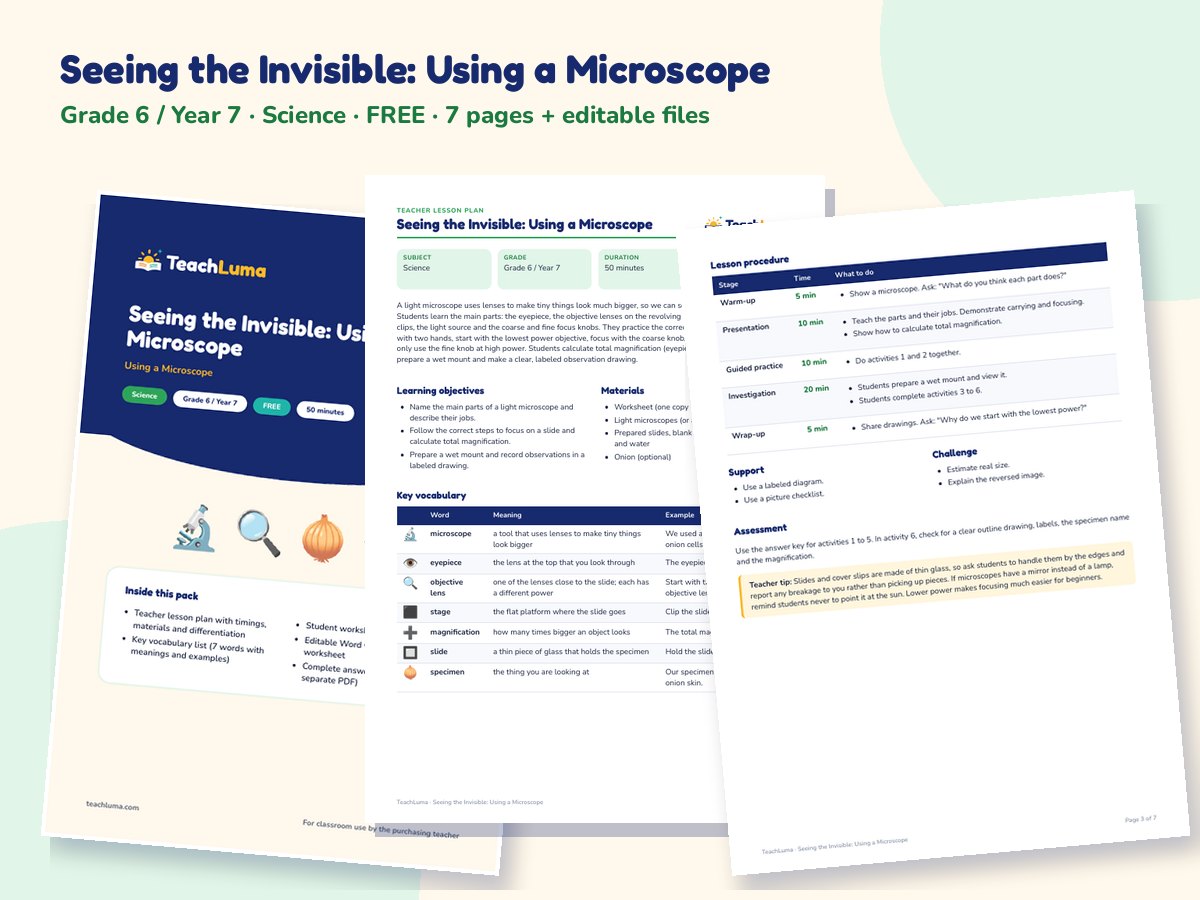
A free Grade 6 science worksheet on using a light microscope safely and correctly. Students learn the parts of a microscope and their jobs, put the steps for viewing a slide in order, calculate total magnification, prepare a wet mount without air bubbles and record a scientific drawing. Includes a timed lesson plan, a six-activity worksheet, an editable Word version and answer key.

Overview

A light microscope uses lenses to make tiny things look much bigger, so we can see cells and small organisms. Students learn the main parts: the eyepiece, the objective lenses on the revolving nosepiece, the stage and stage clips, the light source and the coarse and fine focus knobs. They practice the correct routine: carry the microscope with two hands, start with the lowest power objective, focus with the coarse knob, then use the fine knob, and only use the fine knob at high power. Students calculate total magnification (eyepiece × objective), learn how to prepare a wet mount and make a clear, labeled observation drawing.

Resource Details

Subject
Science
Topic
Using a Microscope
Category
Science Experiments
File Type
PDF
File Size
228 KB
Published
12 Nov 2026
Downloads
1
Download

Free download — no account required.

Teaching this in class? Try our free Random Name Picker & Timer.

Share:

Looking for something different? Request a Resource.

Grade 6 science (ages 11–12) 50 minutes Scientific skills using equipment observing calculating recording

Student Task

  • Show a microscope (or a large diagram). Ask: "What do you think each part does?"
  • Demonstrate carrying, setting up and focusing, then do activities 1 and 2 together.
  • Students complete activities 3 to 6, ideally while using real microscopes. Answers are in the answer key.

Classroom Use

  • Letter e slide: students view a small printed letter e and notice that it looks upside down and back to front.
  • Onion cells: students prepare a wet mount of thin onion skin and draw the cells they see.
  • Magnification race: teams calculate total magnification for different lens combinations.

Differentiation

Support: give a labeled diagram to keep on the desk and a picture checklist of the focusing steps. Challenge: students estimate the real size of an object using the field of view and explain why the image is reversed.

Answer Key & Assessment

Activities 1 to 5 check parts, steps and magnification (answer key included). Activity 6 shows whether students can make a clear scientific drawing.

Learning Objectives

  • Name the main parts of a light microscope and describe their jobs.
  • Follow the correct steps to focus on a slide and calculate total magnification.
  • Prepare a wet mount and record observations in a labeled drawing.

Teacher Tips

Slides and cover slips are made of thin glass, so ask students to handle them by the edges and report any breakage to you rather than picking up pieces. If microscopes have a mirror instead of a lamp, remind students never to point it at the sun. Lower power makes focusing much easier for beginners.

What's Included

  • 7-page printable PDF lesson pack: teacher lesson plan with timings, materials and differentiation
  • Key vocabulary list (7 words with meanings and examples)
  • Student worksheet (6 activities)
  • Editable Word version of the worksheet
  • Complete answer key (also as a separate PDF)

Additional Files


Teacher Reviews

No ratings yet

Be the first teacher to review this resource.

Sign in to review this resource.

Related Resources

Advertisement